
Power Grid Basic Setup
Power Grid comes with two different stacks. The Power Gird stack and the Power Grid Row stack. You will want to start with the Power Grid stack. When you add the Power Grid stack to your RapidWeaver project, you will see a screen like this:
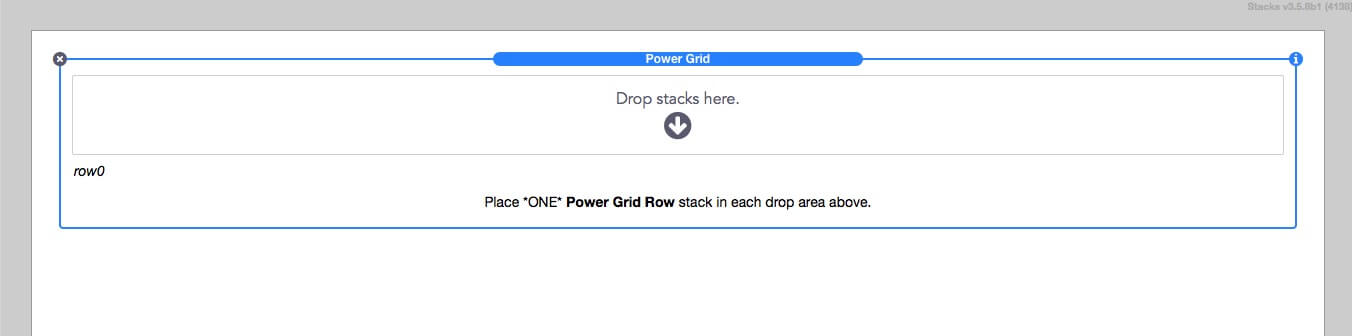
You will notice at the bottom of the stack it says Place ONE Power Grid Row stack in each drop area. This is where you will put the Row stack. As it tells you, only put one Power Grid Row stack in, so if you want more rows, you will need to change that in the stack settings:

Under the Num Rows settings, drag the slider to the number of rows you want in your project. In this example, I will move it to 5. When I do, my RapidWeaver window changes to this:
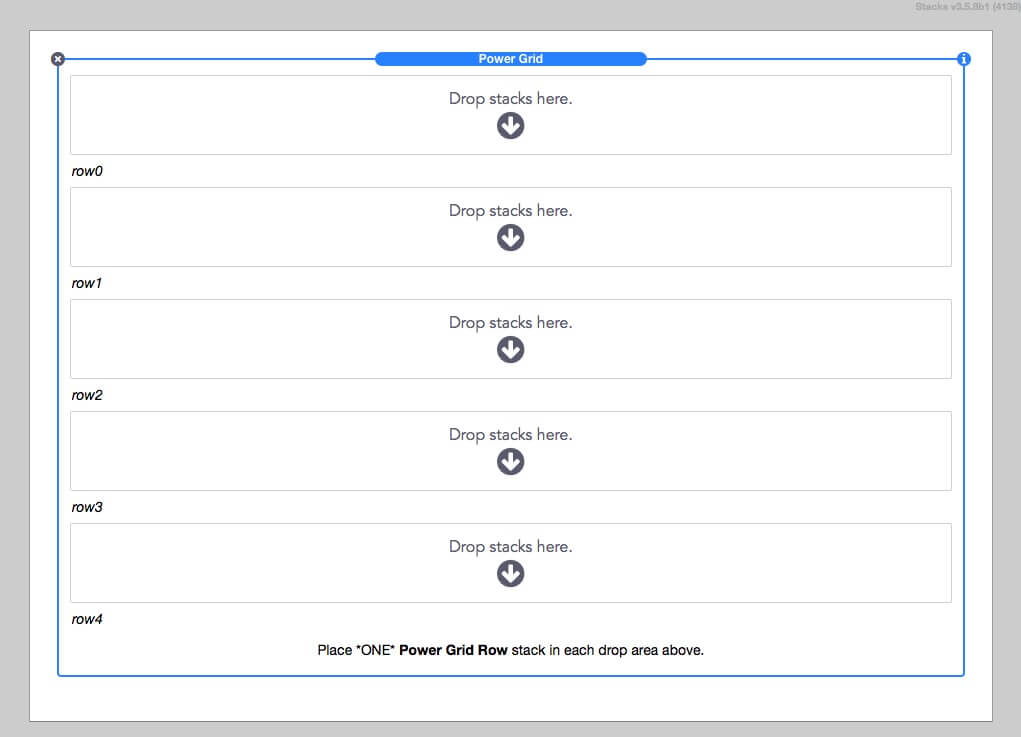
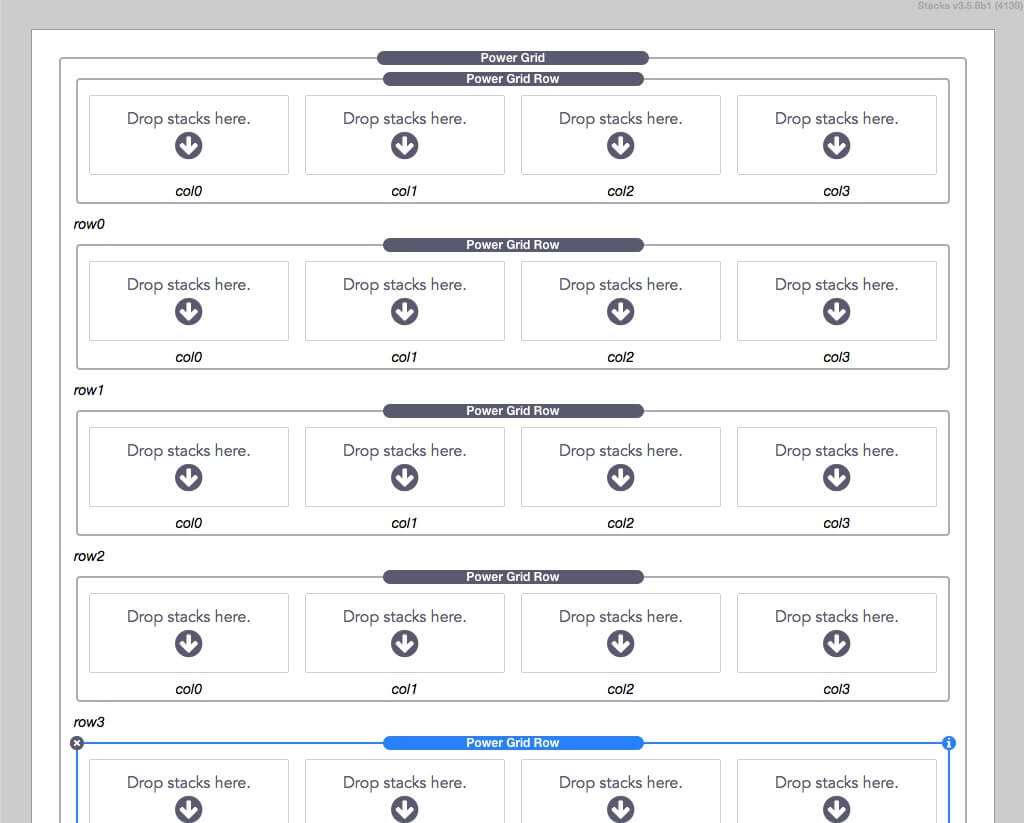
Now I have 5 rows. They are numbered (as you can see) starting with row0 and going to row4. Now, lets add ONE Power Grid Row stack to each drop area. Once done, it should look like this:
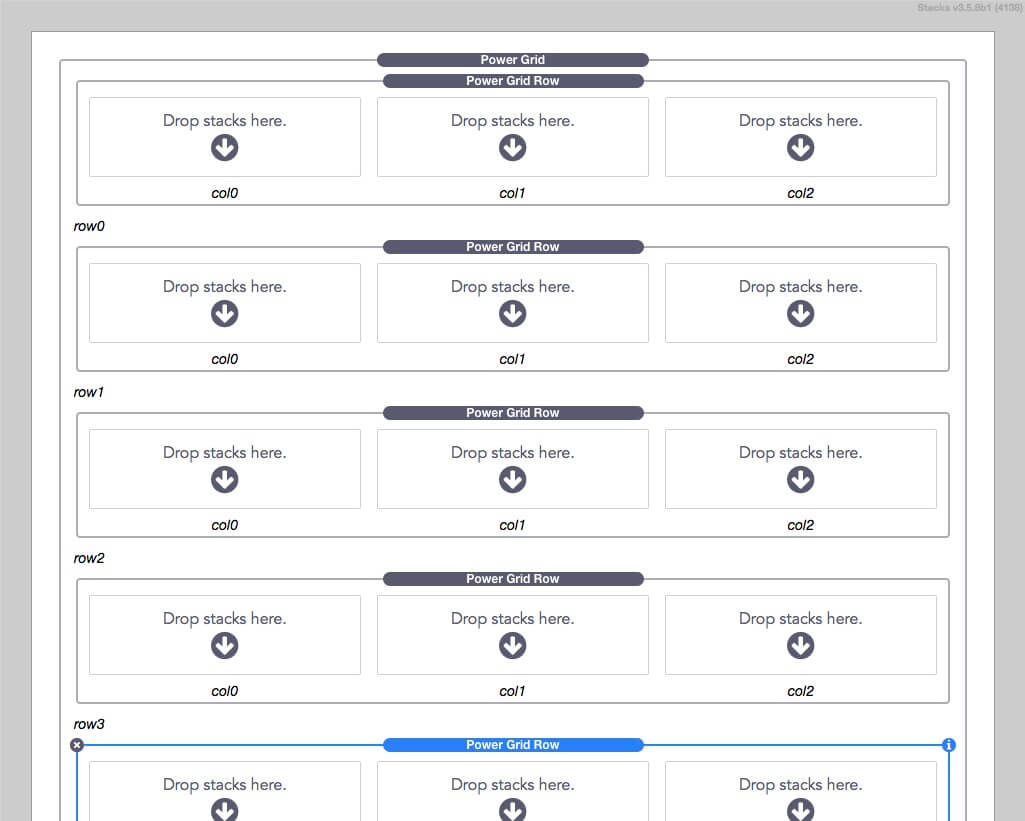
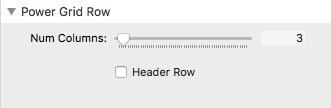
Now we have a grid of 5 rows and 3 columns. If you want more columns, you will need to go into each Power Grid Row stack's settings and change the number of columns. It looks similar to the Power Grid settings, as there is a slider to choose more columns.
In this example, I will change them all to 4 columns and my RapidWeaver window will look like this:
Now you add content to the Drop stacks here. content areas and you are good to go. Like this:
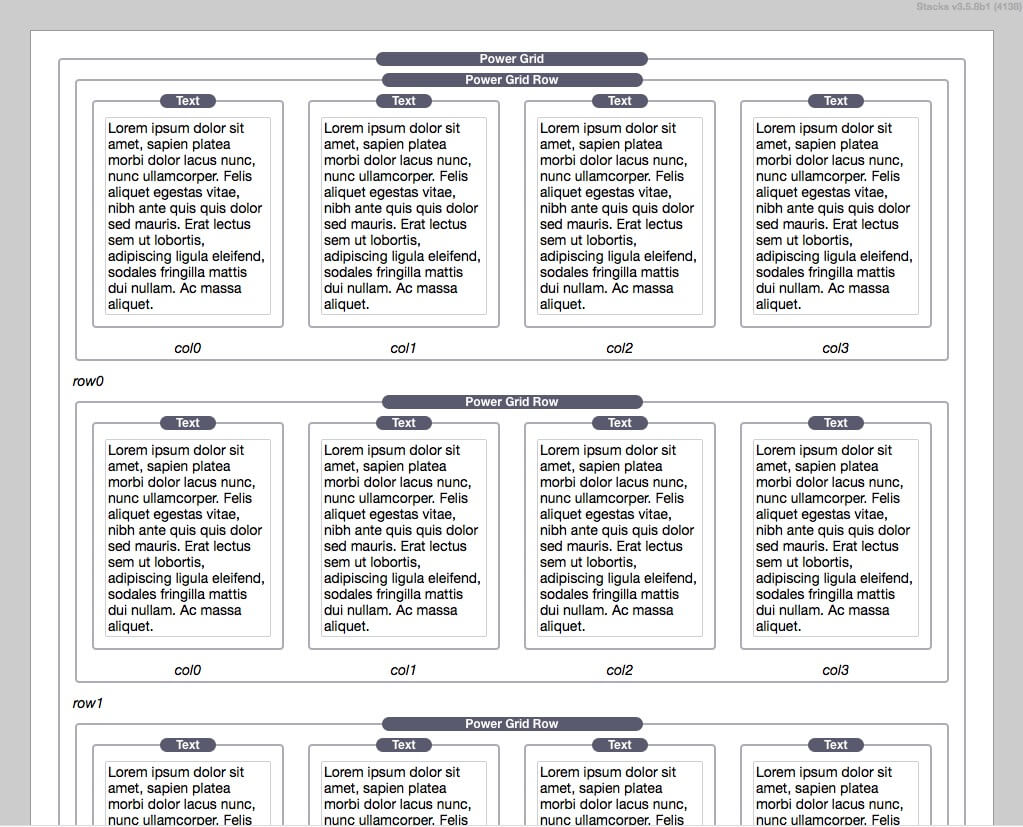
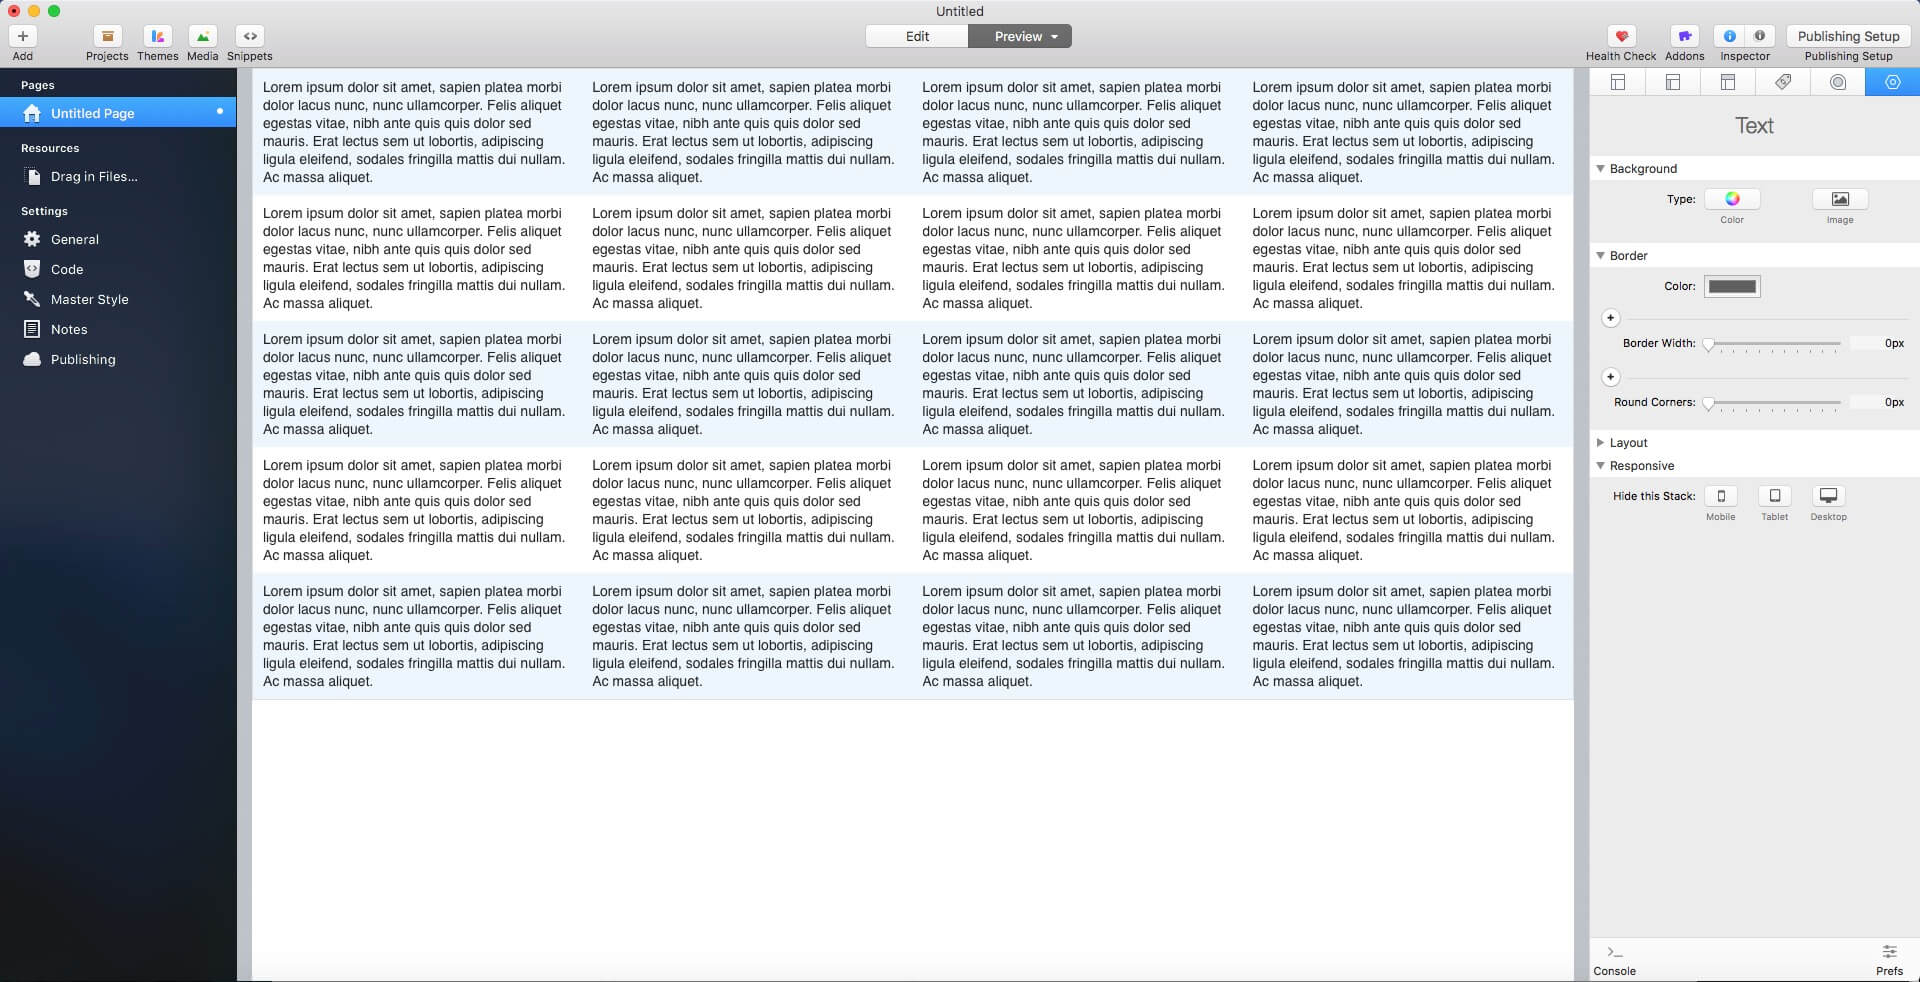
And when you preview, your page will look like this:
Now you are ready to publish your table to your site. We hope this has helped with any questions about the Power Grid stack and how to use it. Now go forth and make your websites great!
Now you are ready to publish your table to your site. We hope this has helped with any questions about the Power Grid stack and how to use it. Now go forth and make your websites great!
Video
Deal of the Week
Latest Updates
Latest Live Stream

Designing with Davide Fanchin, a Master Weaver

{{ title }}
Latest Design

© 2025 Weavers Space | Terms of Service | Privacy Policy
